Video Interview Body Language: What the Camera Sees That You Don't
Non-verbal cues account for 55% of interview communication. 65% of interviewers reject candidates for poor eye contact alone. Here's how to master the invisible signals that make or break your video interview.
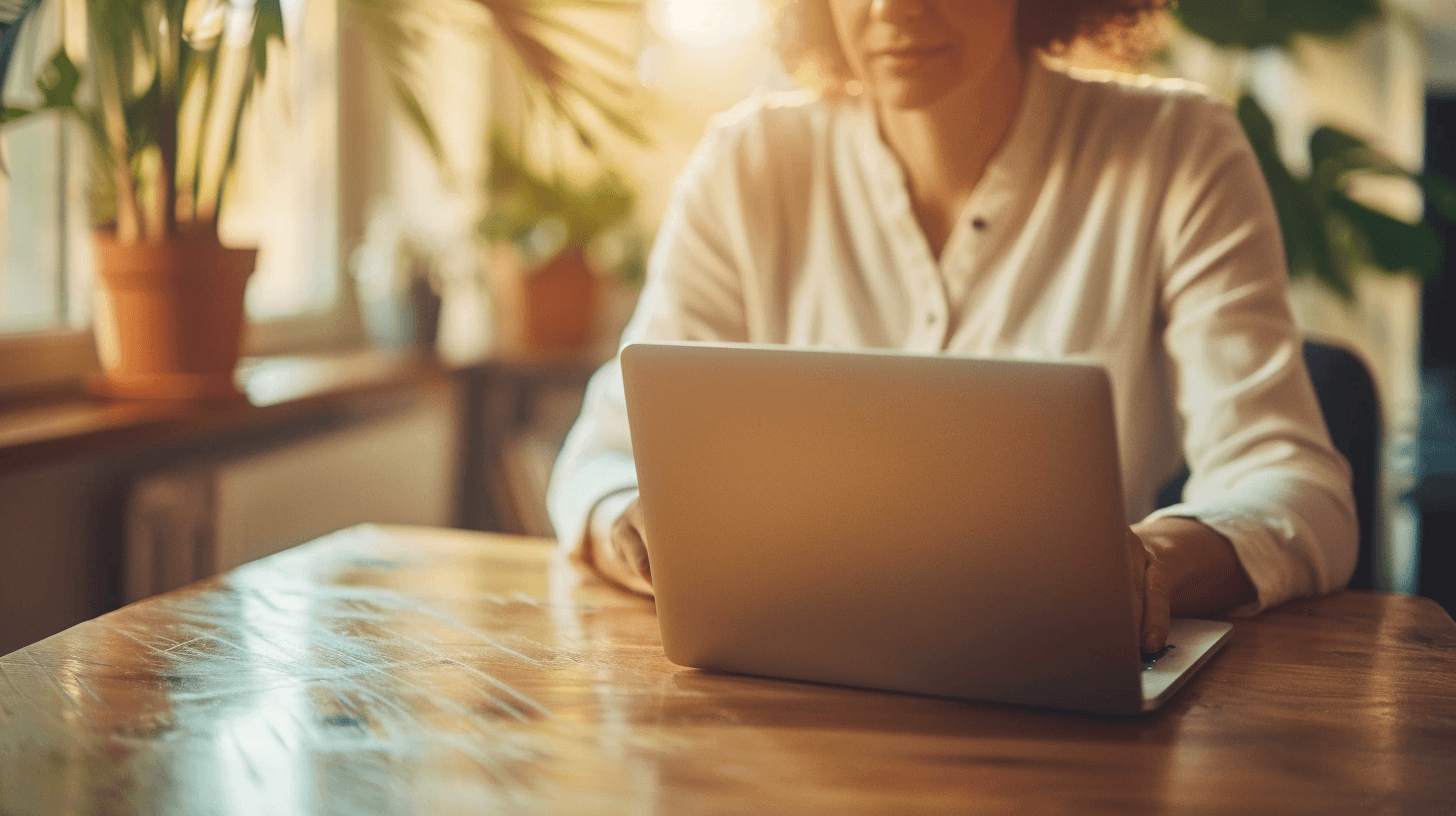
You prepared your answers. You researched the company. You dressed professionally from the waist up. But when you joined the Zoom call, your camera was pointing up your nose, your eyes kept darting to your own reflection, and you slouched without realizing it.
In a video interview, the camera captures everything—and it's often less flattering than you'd hope. The lighting, angle, and your non-verbal habits all shape how the interviewer perceives you before you say a word.
Here's what the research shows about video interview body language, and how to use it to your advantage.
The Non-Verbal Reality
55%
of interview communication is non-verbal—tone, posture, expressions, and eye contact
65%
of interviewers reject candidates who don't maintain appropriate eye contact
40%
reject candidates who don't smile during the interview
52%
of interviewers form their assessment within the first 5-15 minutes
Why Video Makes This Harder
In-person, your body language flows naturally. You make eye contact, read the room, adjust your energy. Video strips away most of those cues. 55% of recruiters say they miss important non-verbal signals in virtual interviews, and 67% feel it's harder to build personal connection.
The camera flattens you into a rectangle. Your movements are confined to a small frame. And there's an inherent paradox: to make eye contact, you have to look at the camera—but then you can't see the interviewer's face.
Mastering video body language means understanding what the camera captures and deliberately optimizing for it.
Camera Position: The Foundation
Camera position is the single most impactful adjustment you can make. Get it wrong, and everything else suffers.
Camera Too Low (Laptop on Desk)
Creates an up-the-nose angle that's unflattering. Makes you appear to be looking down at the interviewer, which can seem condescending or disengaged. This is the most common mistake.
Camera Too High
Forces you to look up constantly, which can appear submissive or strained. Less common, but equally problematic.
Camera at Eye Level (Ideal)
Projects confidence and authority. Creates the most natural, flattering angle. Use a laptop stand, stack of books, or external webcam mounted on your monitor.
Quick Setup Checklist
- • Height: Camera at eye level or slightly above
- • Distance: Arm's length from screen—close enough to see expressions, far enough to show shoulders
- • Frame: Head and upper chest visible, some headroom above
- • Angle: Slight downward tilt (if camera is above eye level) is fine
The Eye Contact Paradox
Here's the fundamental problem with video eye contact: to create the impression that you're looking at someone, you need to look at the camera lens. But if you're looking at the lens, you can't see their face or reactions.
Most people instinctively look at the screen—at the interviewer's image—which makes them appear to be looking down or away. The interviewer sees someone who won't make eye contact.
The Practical Solution
- 1.Look at camera when speaking — This is when eye contact matters most. When you're making your point, look at the lens.
- 2.Look at screen when listening — When they're talking, you can look at their face to read reactions and nod appropriately.
- 3.Position the call window near your camera — Shrink the video window and drag it to the top of your screen, close to your webcam. This minimizes the visual disconnect.
- 4.Use a visual reminder — Some people put a small sticker or photo near their camera as a focal point. It gives you something to "talk to."
Interestingly, research suggests you don't need to stare directly at the camera. Looking approximately 2 degrees below the lens still creates the perception of eye contact while being more natural and sustainable.
The Non-Verbal Mistakes That Kill Interviews
Watching yourself instead of the interviewer
Turn off self-view or minimize it. Constantly checking your own image is distracting and makes you seem self-conscious or vain.
Excessive fidgeting
The camera amplifies small movements. Touching your face, adjusting your hair, or shifting constantly reads as nervousness or lack of confidence.
Flat affect (no expression)
Video flattens emotion. What feels like a neutral expression often reads as bored or disengaged. You need to dial up your expressiveness slightly—more smiling, more nodding, more visible engagement.
Crossed arms or closed posture
Signals defensiveness even if you're just cold. Keep your arms relaxed and visible. Open posture conveys confidence and receptiveness.
Looking off-screen frequently
Glancing at a second monitor, your phone, or notes makes you appear distracted or unprepared. If you need notes, position them near your camera so you're not obviously looking away.
The Body Language That Builds Trust
Sit upright with open shoulders
Good posture projects confidence and engagement. Leaning slightly forward (just a few inches) shows interest without being aggressive.
Use natural hand gestures
Gesturing while you speak adds energy and emphasis. Keep hands visible in frame but don't wave them around wildly. The key word is "natural."
Smile genuinely and often
A genuine smile creates warmth and connection. It's harder to convey enthusiasm through a screen—smiling helps bridge that gap. Just don't force a permanent grin.
Nod to show active listening
In person, you give dozens of micro-signals that you're following along. On video, you need to make these more visible. Nod occasionally, react appropriately to what they say.
Lighting and Background Matter Too
Your body language can be perfect, but poor lighting or a distracting background undermines it.
Environment Checklist
Lighting
- • Face a window or light source (light in front, not behind)
- • Avoid harsh overhead lighting that creates shadows
- • A simple desk lamp in front of you works well
Background
- • Clean, uncluttered, and professional
- • A plain wall or tidy bookshelf works
- • Virtual backgrounds are fine if they don't glitch
Test Before Every Interview
Record yourself answering a practice question and watch it back. You'll immediately see what the interviewer sees: the angle, your expressions, your habits. Most people are surprised by how different they look on camera versus how they feel.
Check your setup 15 minutes before every interview. Confirm your camera position, lighting, and background. Close unnecessary applications. Do a few deep breaths. You want to enter the call calm and focused, not scrambling with technical issues.
Get More Interviews to Practice On
The best way to improve video interview skills is more reps. Landera helps you land more interviews by optimizing your resume for ATS and matching you with relevant opportunities.
Get More Interviews